
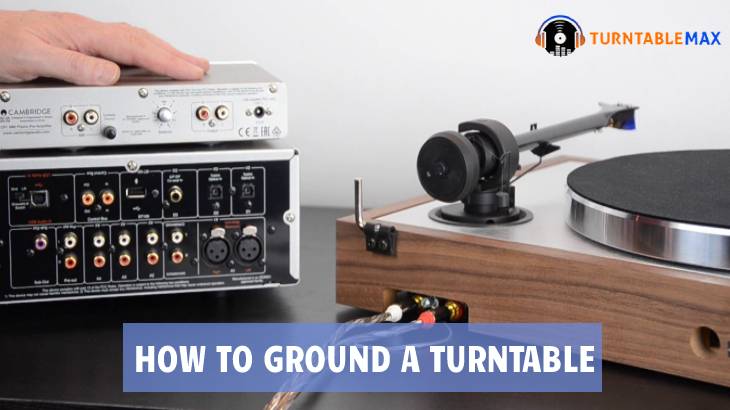
Are you getting annoyed with the humming sound while listening to music? I think your recorder is facing the issue of “ground loop.” You can fix a ground loop by grounding the turntable with or without wire.
You probably won’t realize any immediate difference even after grounding your record player because it takes some time to fix the issue.
What if you are not having such a problem? Do you need to ground your turntable? The answer is yes.
Grounding a turntable is the easiest thing you can learn and do to increase sound quality. So why don’t you learn it?
At the same time, God only knows when a record player would start emitting a humming sound. So, it would be better to take precautions to prevent ground looping issues.
Look closely at why and how exactly you should ground a turntable record player stereo system.
Why Ground A Turntable?
The record players are metal-covered electronic devices. The metal particles carry electricity. When the live wires come into contact with the highly-conductive metal casing, it causes a ground loop.
When it comes to heftier devices, it could even cause a shock when you touch them. You could even get an electric shock when you touch it. Luckily, the ground loop issue ends up with an annoying humming sound for the turntables.
The problem could be worse while your turntable is handling signals from a sensitive cassette. That’s why we suggest grounding the turntable in advance to ensure safety as well as a hum-free music experience all the time.
How to Ground a Record Player? [With or Without Wire]
Materials Needed
- The record player ground wire is attached to the device
- In case your turntable doesn’t have wire, you will need a 5 feet long grounding wire for a turntable or turntable ground wire alternative, like – any fine insulated, more precisely, 18 to 20 gauge-stranded wires.
- The grounding terminal is attached to the amplifier.
- A gaffer tape is a replacement if the amplifier doesn’t have a grounding terminal.
- Needle nose pliers
Procedure
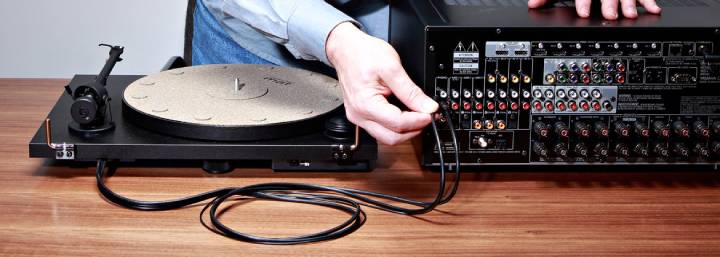
Step 1: Turn Off the Power
Before doing anything with an electronic device, you should always turn off the power. Here, the risk of getting an electric shock is low, but you might end up with the symptoms of tinnitus, as a dangerous, loud noise could pop up at any time. So, the first thing you need to do is turn off the amplifier and the turntable.
Step 2: Find the Ground Wire
Most of the modern turntable cables for grounding are green in color. You will find the turntable ground wire beneath the metal chassis.
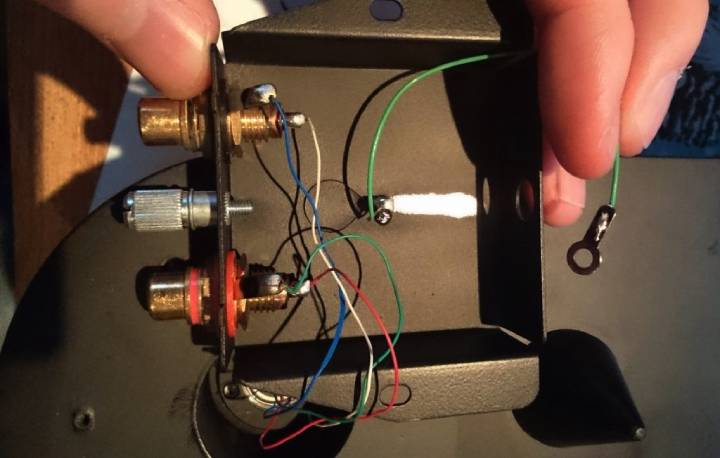
Step 3: Find the Grounding Terminal

There you may find multiple terminals on the back of the amplifier. Consider the terminal clearly marked with “Ground.” It will probably be an average-quality screw terminal or a metal post with a rigid shaft. Once you’ve reached it, loosen the terminal.
Step 4: Check the Measurements
Once you’re done with the grounding cable and compatible terminal, ensure the wire actually can reach the terminal and let you move the equipment.
Step 5: Establish a Secure Connection
Take the copper spade connector of the grounding wire; tightly place it on the grounding terminal; ensure the connection is not over-tighten or too loose.
If there is no turntable ground wire at all, you have to make a DIY turntable ground wire on your own. Attach a 5 feet long 18 to 20 gauge stranded wire to the recording player and strip about 6 to 8 mm of the insulation from both ends using the needle-nose pliers.
You’ve to attach one stripped end to the screw beneath the chassis of the amplifier and the other end to the screw of the turntable’s chassis.
If you find there is no grounding terminal, you can connect the phono ground wire to the actual body of the amplifier using gaffer tape. You’ve to stick the connector to the metal box of the amplifier using gaffer tape.
This DIY method will mostly work the same as the grounding wire does being attached to the grounding terminals though we’ve experienced this DIY hack emitted less humming sound than the original grounding wire and terminal connection.
Step 6: Power On
Once you’ve grounded the record player, turn it back on. Now you’re all set to enjoy the hum-free music forever.
Conclusion
The humming sound between your favorite songs or instruments is super annoying. In the case of metal electric devices, the ground loop issue is as constant as it is true that they are not hard to avoid.
Luckily, you’ve reached this guide article, and hopefully, you can understand all the steps and are all set to apply them; that we teach above. So, get ready to eliminate the amplifier hum from the speaker or record player by grounding the equipment.
If you’re still facing any issues or want to ask any related questions, feel free to comment below. We’ll try to reply to you back with the best solution.